
Perth Amboy Elite Roofing provides roof inspection in Perth Amboy, NJ, serving surrounding cities including South Amboy, Metuchen, South River, Highland Park and Roselle Park. With 20+ years of roofing work behind us, we know what an aging shingle roof, a tired flat rear roof or a leaking chimney looks like before it becomes an emergency.
An inspection is only useful if it looks at the whole roof system. We check the roof surface, the flashing, the gutters and the attic, because a problem on top usually shows up underneath first. Then we give you a straight assessment: what is sound, what needs repair now, and whether replacement is on the horizon at all.
Owners call us before buying or selling a house, after a storm, before installing solar panels, and when a rental changes tenants. Each of those reasons calls for a slightly different focus, and the sections below explain what we look at and why.
Our Step-by-Step Roof Inspection Process
Step 1: Talk Through the History
We start by asking what you know: the roof’s approximate age, any past leaks or repairs, and whether you have noticed stains, drafts or ice along the eaves. That history tells us where to look hardest. On a house you are buying, the seller’s disclosure and the home inspection report fill in what you cannot.
Step 2: Inspect the Attic or Top-Floor Ceilings
From the attic we look at the underside of the deck for water stains, daylight around penetrations, rusted nail tips and damp or matted insulation. We check that the soffit vents are open to the attic and that bathroom fans exhaust outside rather than into the rafters. Where there is no attic access, the top-floor ceilings and the tops of walls tell part of the same story.
Step 3: Walk and Examine the Roof Surface
On the roof we look at granule loss, curling or cracked shingles, lifted tabs, soft spots in the deck, and the number of layers at the eave. On a low-slope section we check seams, blisters, ponding marks and the condition of the edge metal. Where walking would damage the roof, as on slate, we work from ladders and the edges instead.
Step 4: Check Flashing, Penetrations and Gutters
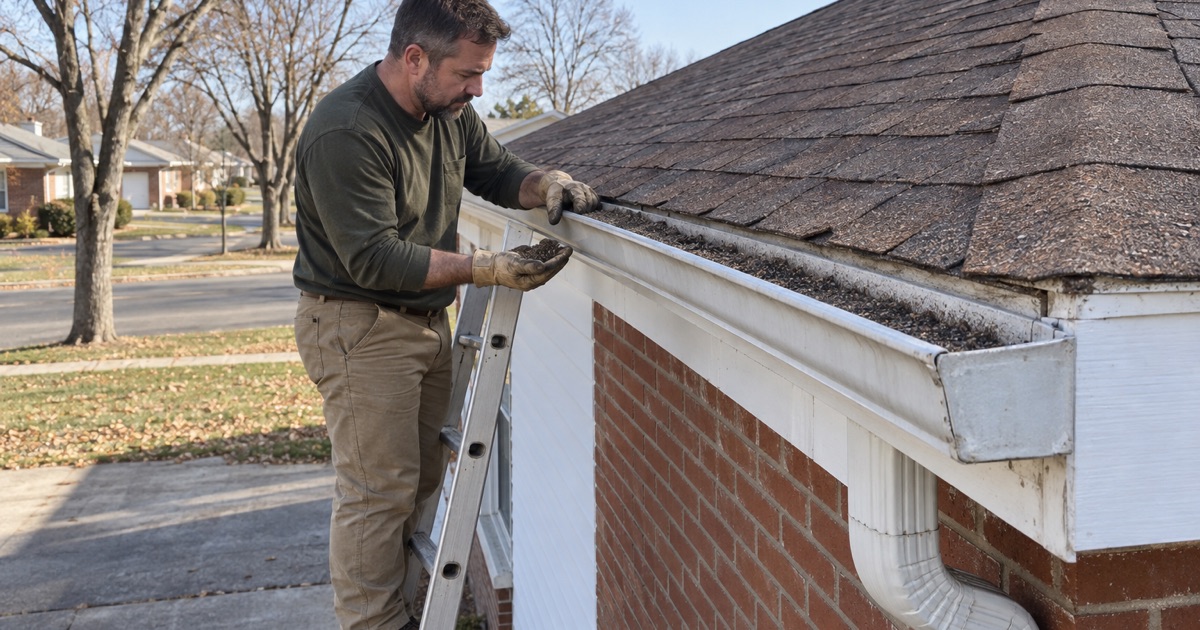
We examine step and counter flashing at walls and chimneys, valley metal, pipe boots, skylight curbs, and the chimney crown and mortar. Gutters, leaders and drip edge are part of the inspection too, since water that leaves the roof badly comes back in through the fascia or the foundation.
Step 5: Deliver a Written Report With Photos
You receive a written summary with photos of what we found, sorted by urgency. Items that are letting water in now come first, then repairs to make within the year, then things to watch. If replacement is the honest answer, we say so; if the roof has years left, we say that too.
What a Residential Roof Inspection Covers
Shingle Condition and Remaining Life
Asphalt shingles age by losing granules, drying out and curling at the edges. Granules collecting at the bottom of the leaders, bare patches on the south-facing slope and tabs that crack when lifted all point to a roof late in its life. We describe where your roof stands so you can plan a replacement years ahead instead of in the middle of a leak.
Decking, Layers and Older Houses
Many houses in Perth Amboy were built before 1940, often with plank board decking and, in some cases, a second layer of shingles over the first. New Jersey requires a full tear-off when a roof already has two layers, or when the existing roof is slate, wood shake or tile, so knowing the layer count changes what any future replacement costs. We note it in every report.
Ventilation and Moisture in the Attic
An attic that cannot breathe holds moisture in winter and heat in summer, both of which shorten shingle life. We compare the intake at the soffits with the exhaust at the ridge or roof vents, look for frost marks or mold on the sheathing, and check for insulation blocking the eaves. Poor ventilation is often the hidden cause behind ice dams and early shingle failure.
Chimneys, Skylights and Wall Joints
A chimney that looks fine from the street can have a cracked crown, missing mortar or step flashing that was simply caulked over at the last re-roof. We look at each from the roof, check for a cricket behind wide chimneys, and compare what we see outside with any staining inside. Skylights get the same treatment, since a curb that has lost its flashing leaks into the shaft below.
Where a roof meets a sidewall or a dormer, the flashing has to step up the wall behind the siding. We check that the kick-out flashing at the bottom of each wall is in place, because without it water runs down into the wall instead of into the gutter.
Commercial and Flat Roof Inspections
Membrane Seams and Surface Condition
On modified bitumen, EPDM and TPO roofs, the seams are where failure starts. We probe laps for adhesion, look for blisters, splits and alligatoring, and note ponding areas where water stands after rain. Soft spots underfoot usually mean wet insulation, which changes a repair into a partial replacement.
Parapets, Coping and Rooftop Equipment
Small commercial and mixed-use buildings carry parapet walls, coping, signs and rooftop units, each with its own flashing. We check coping joints, through-wall flashing at the parapet base and the curbs under mechanical equipment. Many leaks that appear inside a storefront start at one of these details rather than in the open field of the roof.
Drains, Scuppers and Conductor Heads
A flat roof is only as good as its drainage. We check that roof drains have strainers and run clear, that scuppers are open and flashed, and that conductor heads and leaders carry water away from the building. Blocked drainage is one of the cheapest problems to fix and one of the most expensive to ignore.
When to Schedule a Roof Inspection
Before Buying or Selling a House
A general home inspector often looks at the roof from the ground or a ladder. A roofer’s inspection identifies the layers, the flashing condition and the deck, which matters when the difference between a repair and a replacement is a large part of the price. Sellers use the same report to fix problems before listing rather than negotiating over them later.
After a Storm or Before an Insurance Claim
After a windstorm or a nor’easter, an inspection separates fresh damage from older wear, which is the first question an adjuster asks. We photograph creased and missing shingles, damaged flashing and impact marks, and write them up for your own claim.
Timing matters. Damage that sits unreported while more storms pass is harder to tie to one date, and a small opening left alone keeps letting water into the deck and insulation.
Before Solar Panels or a Tenant Turnover
A roof that will sit under solar panels for twenty years should be checked first, since removing panels later to fix it costs extra. On a rental, the gap between tenants is the easiest time to inspect the attic and top floor, and to schedule any repair before the next lease begins.
For landlords with several buildings, a yearly round of inspections turns surprise leak calls into planned work. Repairs can then be grouped and scheduled around tenants instead of squeezed in during a storm.
- 20+ Years in Roofing
- Itemized Written Estimates
- Attic-to-Roof Leak Tracing